What is Out of Position in FC 24?
Médias |
2024-02-02 01:19:32

Atualize para o Pro
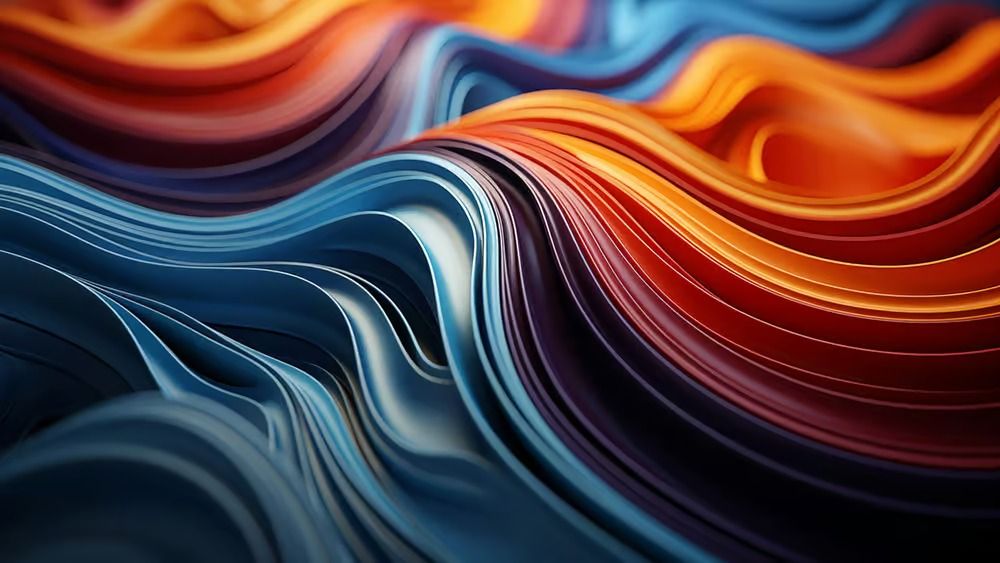
Introduction In the ever-evolving world of 3D design, Blender 5.0 has introduced remarkable features that push the boundaries of creativity and innovation. One such groundbreaking addition is the Volume Grid Nodes system, which opens up a treasure trove of possibilities for creating stunning visual effects. Among these possibilities lies the art of crafting liquid glass molecules — a captivating blend of organic structures and reflective surfaces. This article will guide you through the process of creating these mesmerizing effects in Blender, perfect for motion graphics, abstract visuals, and futuristic design renders.
Understanding Volume Grid Nodes Volume Grid Nodes in Blender 5.0 represent a significant leap in the way artists approach procedural design. These nodes allow for granular control over volumetric data, enabling you to create intricate structures that were once time-consuming or nearly impossible to achieve. With the ability to manipulate volume data at a molecular level, artists can now create fluid glass-like effects that mimic the properties of real glass and liquid.
The Appeal of Liquid Glass Molecules So why focus on creating liquid glass molecules? The answer lies in their versatility. Liquid glass effects can enhance a variety of projects, from abstract motion graphics to high-end product visualizations. The reflective nature of glass, coupled with the fluidity of liquids, creates a dynamic interplay of light and shadow, making your designs come alive. This captivating aesthetic is particularly useful for futuristic design renders, where you want to evoke a sense of cutting-edge technology and sophistication.
Getting Started with Blender 5.0
Setting Up Your Workspace Before diving into the creation process, it’s essential to set up your Blender workspace for optimal efficiency. Ensure you have the latest version of Blender 5.0 installed. Once you have it open, familiarize yourself with the new Volume Grid Nodes interface. This will be your primary tool for creating the liquid glass molecular effect.
1. Create a New Project:
Start by opening a new project in Blender and saving it with an appropriate name.
2. Switch to Shader Editor:
Navigate to the Shader Editor where you’ll be able to access and manipulate the Volume Grid Nodes.
3. Activate Volume Grid Nodes:
In the Shader Editor, enable the Volume Grid Nodes feature to start building your molecular structure.
Building the Base Structure To create liquid glass molecules, you need to establish a base structure that will serve as the foundation for your design. Here’s how to get started:
1. Add a Mesh Object:
Begin by adding a basic mesh object such as a sphere or cube. This will act as the initial shape for your liquid glass molecule.
2. Apply a New Material:
In the material properties tab, create a new material and ensure it’s set to use Volume Shader. This is crucial for achieving that glass-like appearance.
3. Utilize Volume Nodes:
Start adding Volume Nodes to your shader. Use a combination of the Principled Volume node and other volume-related nodes to build a complex internal structure that mimics the properties of glass and liquid.
Crafting the Liquid Glass Effect Now comes the exciting part: transforming your base structure into a stunning liquid glass effect. This is where the true potential of Volume Grid Nodes shines.
1. Configure Reflective Properties: Adjust the reflective properties of your material to ensure it mimics real glass. Tweak the roughness and index of refraction to achieve the desired level of reflectivity and clarity.
2. Add Noise and Detail: Introduce texture nodes to create organic details within your liquid glass. Use noise textures to simulate the imperfections found in natural glass and add depth to your design.
3. Animate the Structure: For added visual interest, consider animating your liquid glass molecules. Use Blender’s animation tools to create flowing movements, simulating the liquid aspect of your design.
Final Touches and Rendering With your liquid glass molecules in place, it’s time to focus on the final touches that will elevate your project.
Lighting and Environment Lighting plays a crucial role in how your liquid glass effect is perceived. Consider the following tips:
1. Use HDRI Lighting: Implementing High Dynamic Range Imaging (HDRI) will help you achieve realistic lighting and reflections. It provides a natural light source that enhances the glass effect.
2. Add Background Elements: To create a more immersive environment, consider adding background elements or other props that complement your liquid glass molecules. This will enhance the visual context of your design.
Rendering Your Scene Once you are satisfied with your setup, it’s time to render your scene. Choose the appropriate render settings in Blender to capture the stunning details of your liquid glass molecules. High-quality rendering will ensure that the reflective properties and intricate details are showcased effectively.
Conclusion Creating liquid glass molecules with Volume Grid Nodes in Blender 5.0 opens up exciting avenues for 3D artists and designers. By mastering this innovative feature, you can elevate your projects to new heights, producing eye-catching illustrations that captivate and inspire. Whether you are working on motion graphics, abstract visuals, or futuristic design renders, the techniques outlined in this article will serve as a valuable foundation for your creative endeavors. So, dive into Blender 5.0, experiment with the Volume Grid Nodes, and let your imagination run wild in the world of liquid glass design. Happy noding! Source: https://www.blendernation.com/2025/12/06/create-liquid-glass-molecules-with-volume-grid-nodes-in-blender-5-0/

