John Bolton appelle à l’assassinat de Poutine et au changement de régime
Guerre |
2022-10-10 06:38:06

Upgrade to Pro
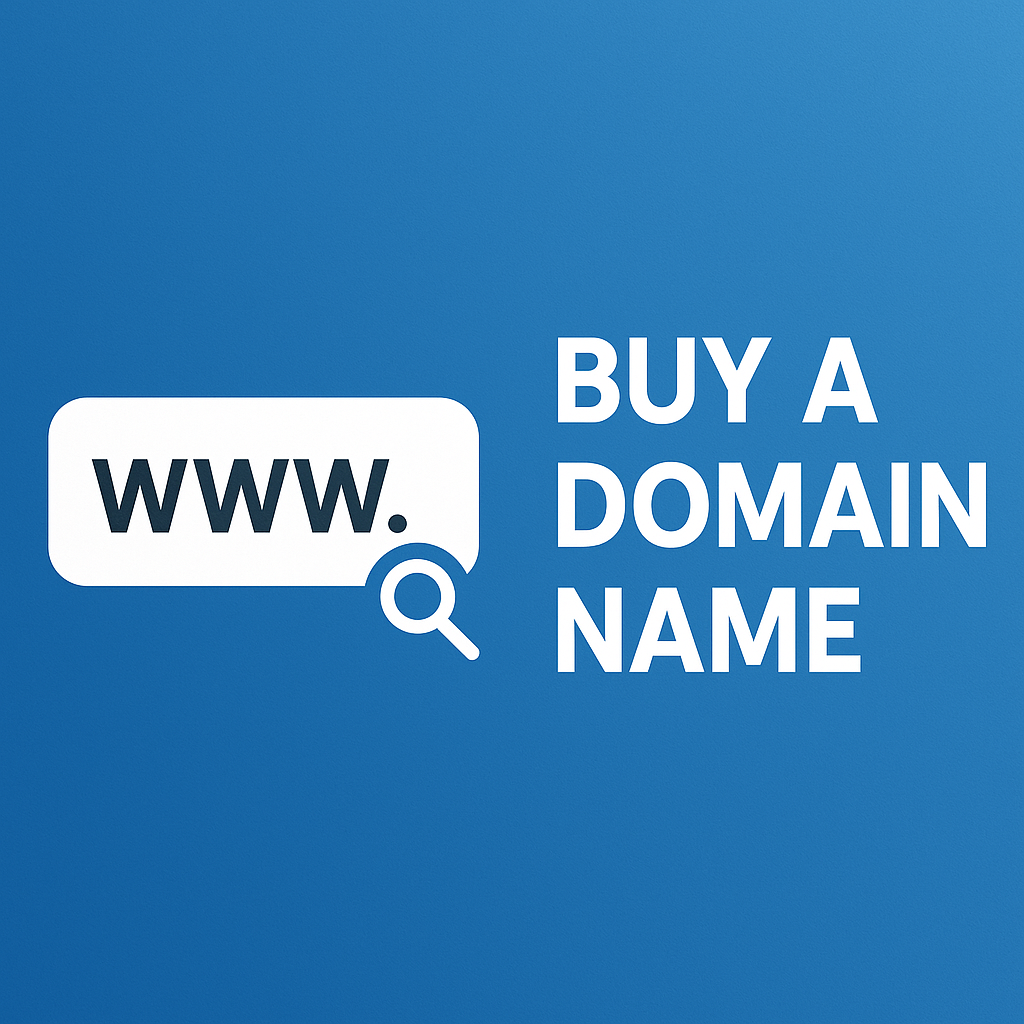
If you’re starting a new website, one of the first and most important steps is buying a domain name. Your domain is your online identity — the address people type into their browser to find you. Think of it as the foundation of your digital presence. Whether you’re launching a blog, online store, or professional portfolio, securing the right domain name is critical. Here’s a complete beginner’s guide to help you buy a domain name with confidence.
A domain name is the unique web address that leads users to your site, like cloudmailstore.com. It’s made up of two parts:
Name: The word or phrase (e.g., “example”).
Extension: The suffix after the dot, such as .com, .net, or .org.
Together, they form a memorable address for your website.
Choosing the right domain name is crucial because it impacts your branding, searchability, and credibility. Here are a few tips:
Keep it short and easy to spell.
Use keywords related to your business or niche.
Avoid numbers, hyphens, or confusing spellings.
Aim for something memorable and professional.
For example, if you’re starting a baking blog, a name like cloudmailstore.com is easier to remember than my-favorite-baking-tips-2025.net.
The .com extension is still the most popular and trusted. However, other options like .net, .org, or industry-specific ones like .tech or .shop are becoming more common. If your first-choice name isn’t available in .com, you might consider a relevant alternative extension.
Once you’ve narrowed down a few options, use a domain registrar (like GoDaddy, Namecheap, or Google Domains) to check if your domain name is available. These platforms let you search for names and instantly show whether they’re taken or not. If your exact name isn’t available, they often suggest similar variations.
To buy a domain, you’ll need to register it through an accredited registrar. Popular choices include:
GoDaddy
Namecheap
Cloud Mail Store
Bluehost (bundled with hosting plans)
The process is simple:
Search for your domain.
Add it to your cart.
Enter your details.
Pay the registration fee (usually $10–$20 per year).
When registering a domain, your contact details go into a public database called WHOIS. Most registrars offer domain privacy protection, which hides your personal information. For a few extra dollars per year, it’s worth the investment for security and peace of mind.
Buying a domain is just the first step. To make your website live, you’ll also need web hosting. Some registrars offer hosting services, or you can connect your domain to a separate hosting provider like Bluehost, SiteGround, or HostGator.
Buying a domain name doesn’t have to be overwhelming. With the right planning, you can secure a professional, memorable domain in just a few minutes. Start by brainstorming a strong name, check its availability, and register it through a trusted registrar. Once you’ve got your domain, you’re one step closer to building your online presence.


