

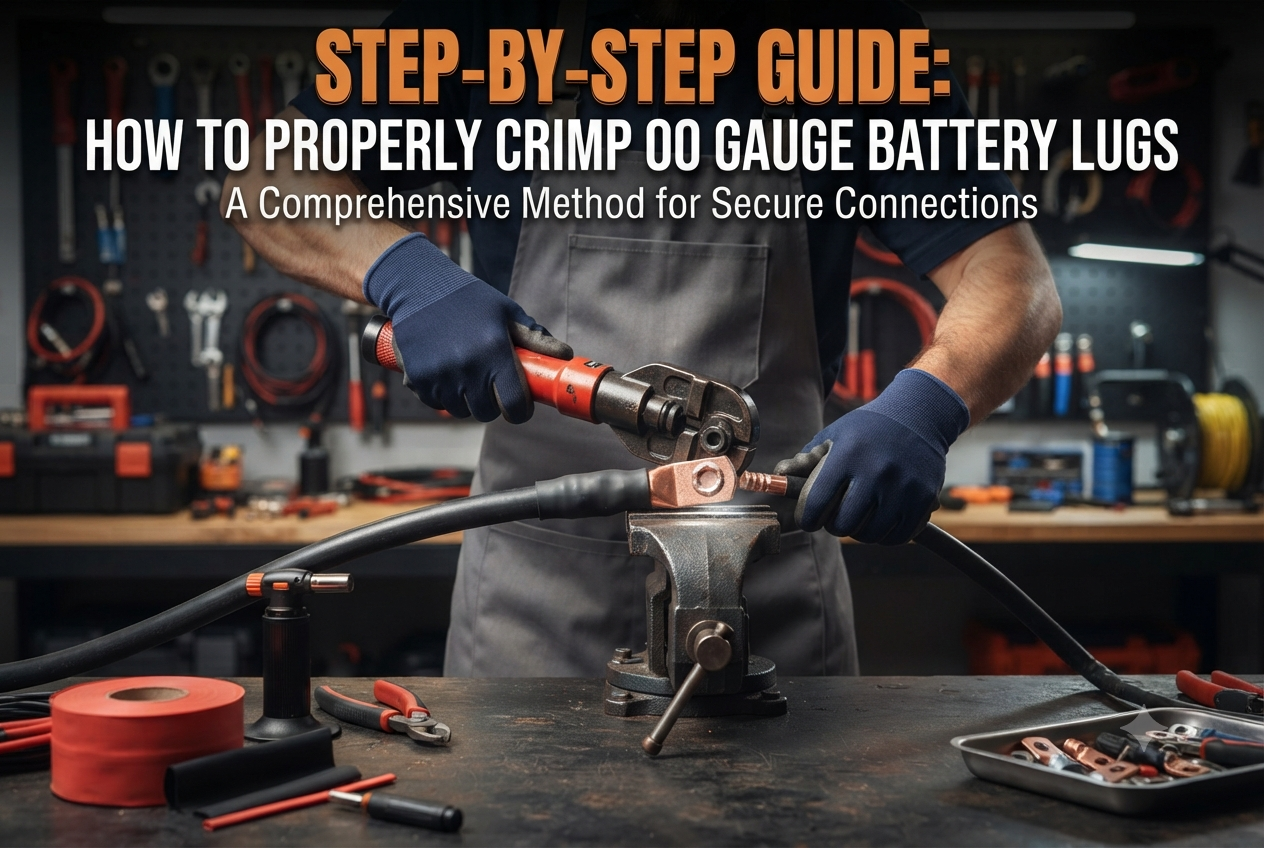

A heavy battery cable is only as good as the connection at its end. If you're working with 2 0 awg cable lugs, getting the crimp right matters because these cables are built to carry serious current. A weak connection can introduce resistance, create heat and eventually leave you with a problem that is much harder to diagnose than it should be. The good news is that a proper crimp isn't complicated once you have the right lug, cable and tool.
Before You Touch the Crimping Tool
Don't start by reaching for the crimper.
Start with the cable.
Check that the cable is actually the gauge the lug is designed for. Heavy battery cable can look surprisingly similar across sizes, especially when you're working with thick insulation. Check the marking on the cable rather than judging it by eye.
Then check the lug.
The cable opening needs to accept the conductor without forcing it in or leaving excessive space around it. Also check the stud hole at the other end. A lug can fit the cable perfectly and still be the wrong choice for the battery post, busbar or other connection point.
For a 00 gauge battery lugs installation, these two measurements are worth confirming before you strip anything.
Get a Clean Cut
Once you've selected the right cable, cut it cleanly.
A proper cable cutter is much better than a hacksaw for this job. You want the copper strands to remain together rather than getting flattened, stretched or scattered during the cut.
Heavy cable has a lot of strands packed tightly together. A rough cut makes the next step unnecessarily difficult because you're trying to push an uneven bundle into the lug barrel.
If the cable has already been cut and the end looks messy, trim it again. You're not saving anything by trying to work with a damaged end.
Strip Only What You Need
This is where people sometimes get a little too enthusiastic.
The insulation only needs to be removed far enough for the conductor to reach fully into the lug barrel. Don't strip several extra inches because you think more exposed copper will make a stronger connection.
It won't.
Too much exposed conductor leaves copper vulnerable to moisture and gives you a longer section that needs to be protected later.
Use a stripper designed for heavy cable, or carefully cut around the insulation without nicking the copper underneath. If you cut into the strands, don't try to hide the damage inside the lug. Cut the section back and start again.
Check the Fit Before Crimping
Take the stripped cable and slide the conductor into the lug.
It should go in fully.
You shouldn't have to twist the strands aggressively or force them through the opening. At the same time, the driver shouldn't feel loose enough to move around inside the barrel.
This quick check catches a lot of mistakes before they become permanent.
For 2 0 awg cable lugs, the barrel is designed around a specific conductor size. Don't assume that a lug marked for a similar-looking cable will give you the same fit.
If the cable doesn't fit properly, stop there and get the correct combination.
Put the Lug in the Right Position
Before crimping, think about where the lug will sit once the cable is installed.
This sounds minor until you finish a perfect crimp and discover that the cable needs to bend in the opposite direction.
Line up the lug with the cable before applying pressure. If you're making a custom battery cable, look at the final routing and terminal position first.
Heavy cable doesn't like being forced into a sharp bend immediately behind the lug. That puts unnecessary stress on the connection and can make installation harder than it needs to be.
A few seconds of planning here can save you from making another cable.
Choose the Right Crimper
A pair of ordinary pliers isn't going to do this job.
Neither is a small hand crimper intended for lightweight automotive terminals.
Large battery cables need a crimping tool designed for the cable and terminal size. Depending on the lug and application, that could mean a hydraulic crimper, hex crimper or another approved crimping system.
The important part is not how impressive the tool looks. It needs to produce the type of crimp specified for the lug.
If the manufacturer provides a recommended die size or crimp pattern, follow it. Different lugs can have different requirements.
Make the Crimp
With the cable fully seated, position the lug in the crimper according to the tool manufacturer's instructions.
Apply the crimp firmly and evenly.
Don't keep squeezing the terminal in random places because you're trying to make it "extra tight." A crimp works because the barrel and conductor are compressed in the correct way. More force isn't automatically better.
After the crimp is complete, look closely at it.
The barrel should be properly compressed. The cable should not pull out when given a firm manual check. You also shouldn't see badly distorted metal, cracked copper or loose strands sticking out around the barrel.
If something looks wrong, don't assume it will improve once the cable is connected to the battery.
Protect the Cable Entry
The open end of a cable lug is another place where moisture can get in.
Heat shrink is commonly used around the transition between the lug and cable insulation. Adhesive-lined heat shrink can provide additional protection by sealing around the cable end.
Slide the heat shrink over the cable before making the crimp. That's an easy detail to forget, and once the lug has been crimped, you may have to redo the entire connection if the tubing won't fit over it.
Use enough heat to shrink the tubing properly without scorching the cable insulation.
Give the Finished Connection a Final Check
Don't immediately install the cable just because the crimp looks good.
Give it a visual inspection first.
Check the crimp from different angles. Look for cracks, uneven compression, exposed strands or damage to the cable insulation. Hold the cable and lug and make sure there is no obvious movement between them.
Then look at the finished length of cable. Is the lug facing the right direction? Will the cable reach the connection without being stretched? Is there enough room for the cable to be supported without putting pressure on the terminal?
A good electrical connection also needs to make sense mechanically.
Connecting the Cable
When the cable is ready to install, make sure the mating surface is clean and the hardware is appropriate for the application.
The lug should sit flat against the connection point. Don't force it into position by bending the cable sharply.
Tighten the connection according to the equipment or manufacturer's specifications rather than guessing how tight is "tight enough."
Over-tightening can damage hardware. Under-tightening can leave you with a poor electrical connection.
If you're working around a battery bank, inverter or other high-current equipment, follow the applicable safety procedures before making the connection.
When Should You Replace the Lug?
Sometimes a cable already has a lug attached and you're wondering whether it can simply be reused.
Inspect it first.
A lug that is badly corroded, cracked, distorted or damaged during removal should not be trusted just because the cable itself looks fine.
The same applies if the existing crimp is loose or the conductor has been damaged near the terminal.
Cutting off a questionable lug and making a fresh connection is usually a much better option than trying to rescue a bad one.
The Part People Usually Get Wrong
Most failed crimps don't happen because someone doesn't know what a crimp is.
They happen because one small step gets rushed.
The wrong lug is selected. The cable is stripped too far. A few copper strands get damaged. The cable isn't fully inserted. The wrong die is used. Or the finished connection is bent immediately behind the terminal.
None of these mistakes is dramatic while you're making the cable.
That is what makes them worth checking.
A properly made 00 gauge battery lugs connection should feel solid, sit cleanly on its terminal and leave no question about whether the cable is properly secured. If you're building heavy-duty battery cables, taking a few extra minutes with lugs at the bench is a lot easier than troubleshooting a connection that was rushed in the first place.